It’s Christmas day !! The children (me) are waiting for Santa (the DHL guy) who brings the presents (the mod kit I ordered). It’s already late friday afternoon when he finally arrives. I rush to the door and suppress the sudden urge to hug him. I wipe away one tear of joy as I sign the reception sheet.
Overview
The Gaggiuino mod comes in several flavors. Number one is the type of electronic control device inside the machine. You can either opt for a full custom build (LEGO-build) or order a ready-made PCB board that has the same components soldered onto it (SMD). I opted for number 2, seemed simpler.
Secondly, you need to choose how to integrate the board with the components of the machine. You need to alter the internal wiring. You have two choices again: Either you keep the existing wiring and modify it where necessary (stock wiring integration). Or, you remove all wires and make your own (custom wiring integration). My machine is a european one, so it has a “ECO-PCB”, which is a functionality that turns the machine off after 20 minutes of inactivity. Custom wiring is recommended to circumvent that so I opt for this route.
Thirdly, you have to choose your interface. There is a touchscreen mounted on the machine or a “headless” interface that’s invisible. Both interfaces can be accessed via Wi-Fi. A touch screen on my machine? How cool is that, I don’t even consider headless.
Lastly, there are two add-ons: Water tank level measurement (ToFnLED) and integrated hardware scales. The water tank level measurement is a bit ugly in my opinion because it uses a LED. Hardware scales seemed unnecessary, because you can just connect a bluetooth scale or use the integrated predictive model that is apparently quite good. So none of those for now.
Ripping it all out
The choices are made, time for action! I open the machine and start to label the cables according to the proposed schema. As I advance, I’m only unplugging cables. It feels reversible for now. Until I reach the pump. I need to cut one cable here. Deep breath and boom. I just cut a cable of my perfectly working machine.
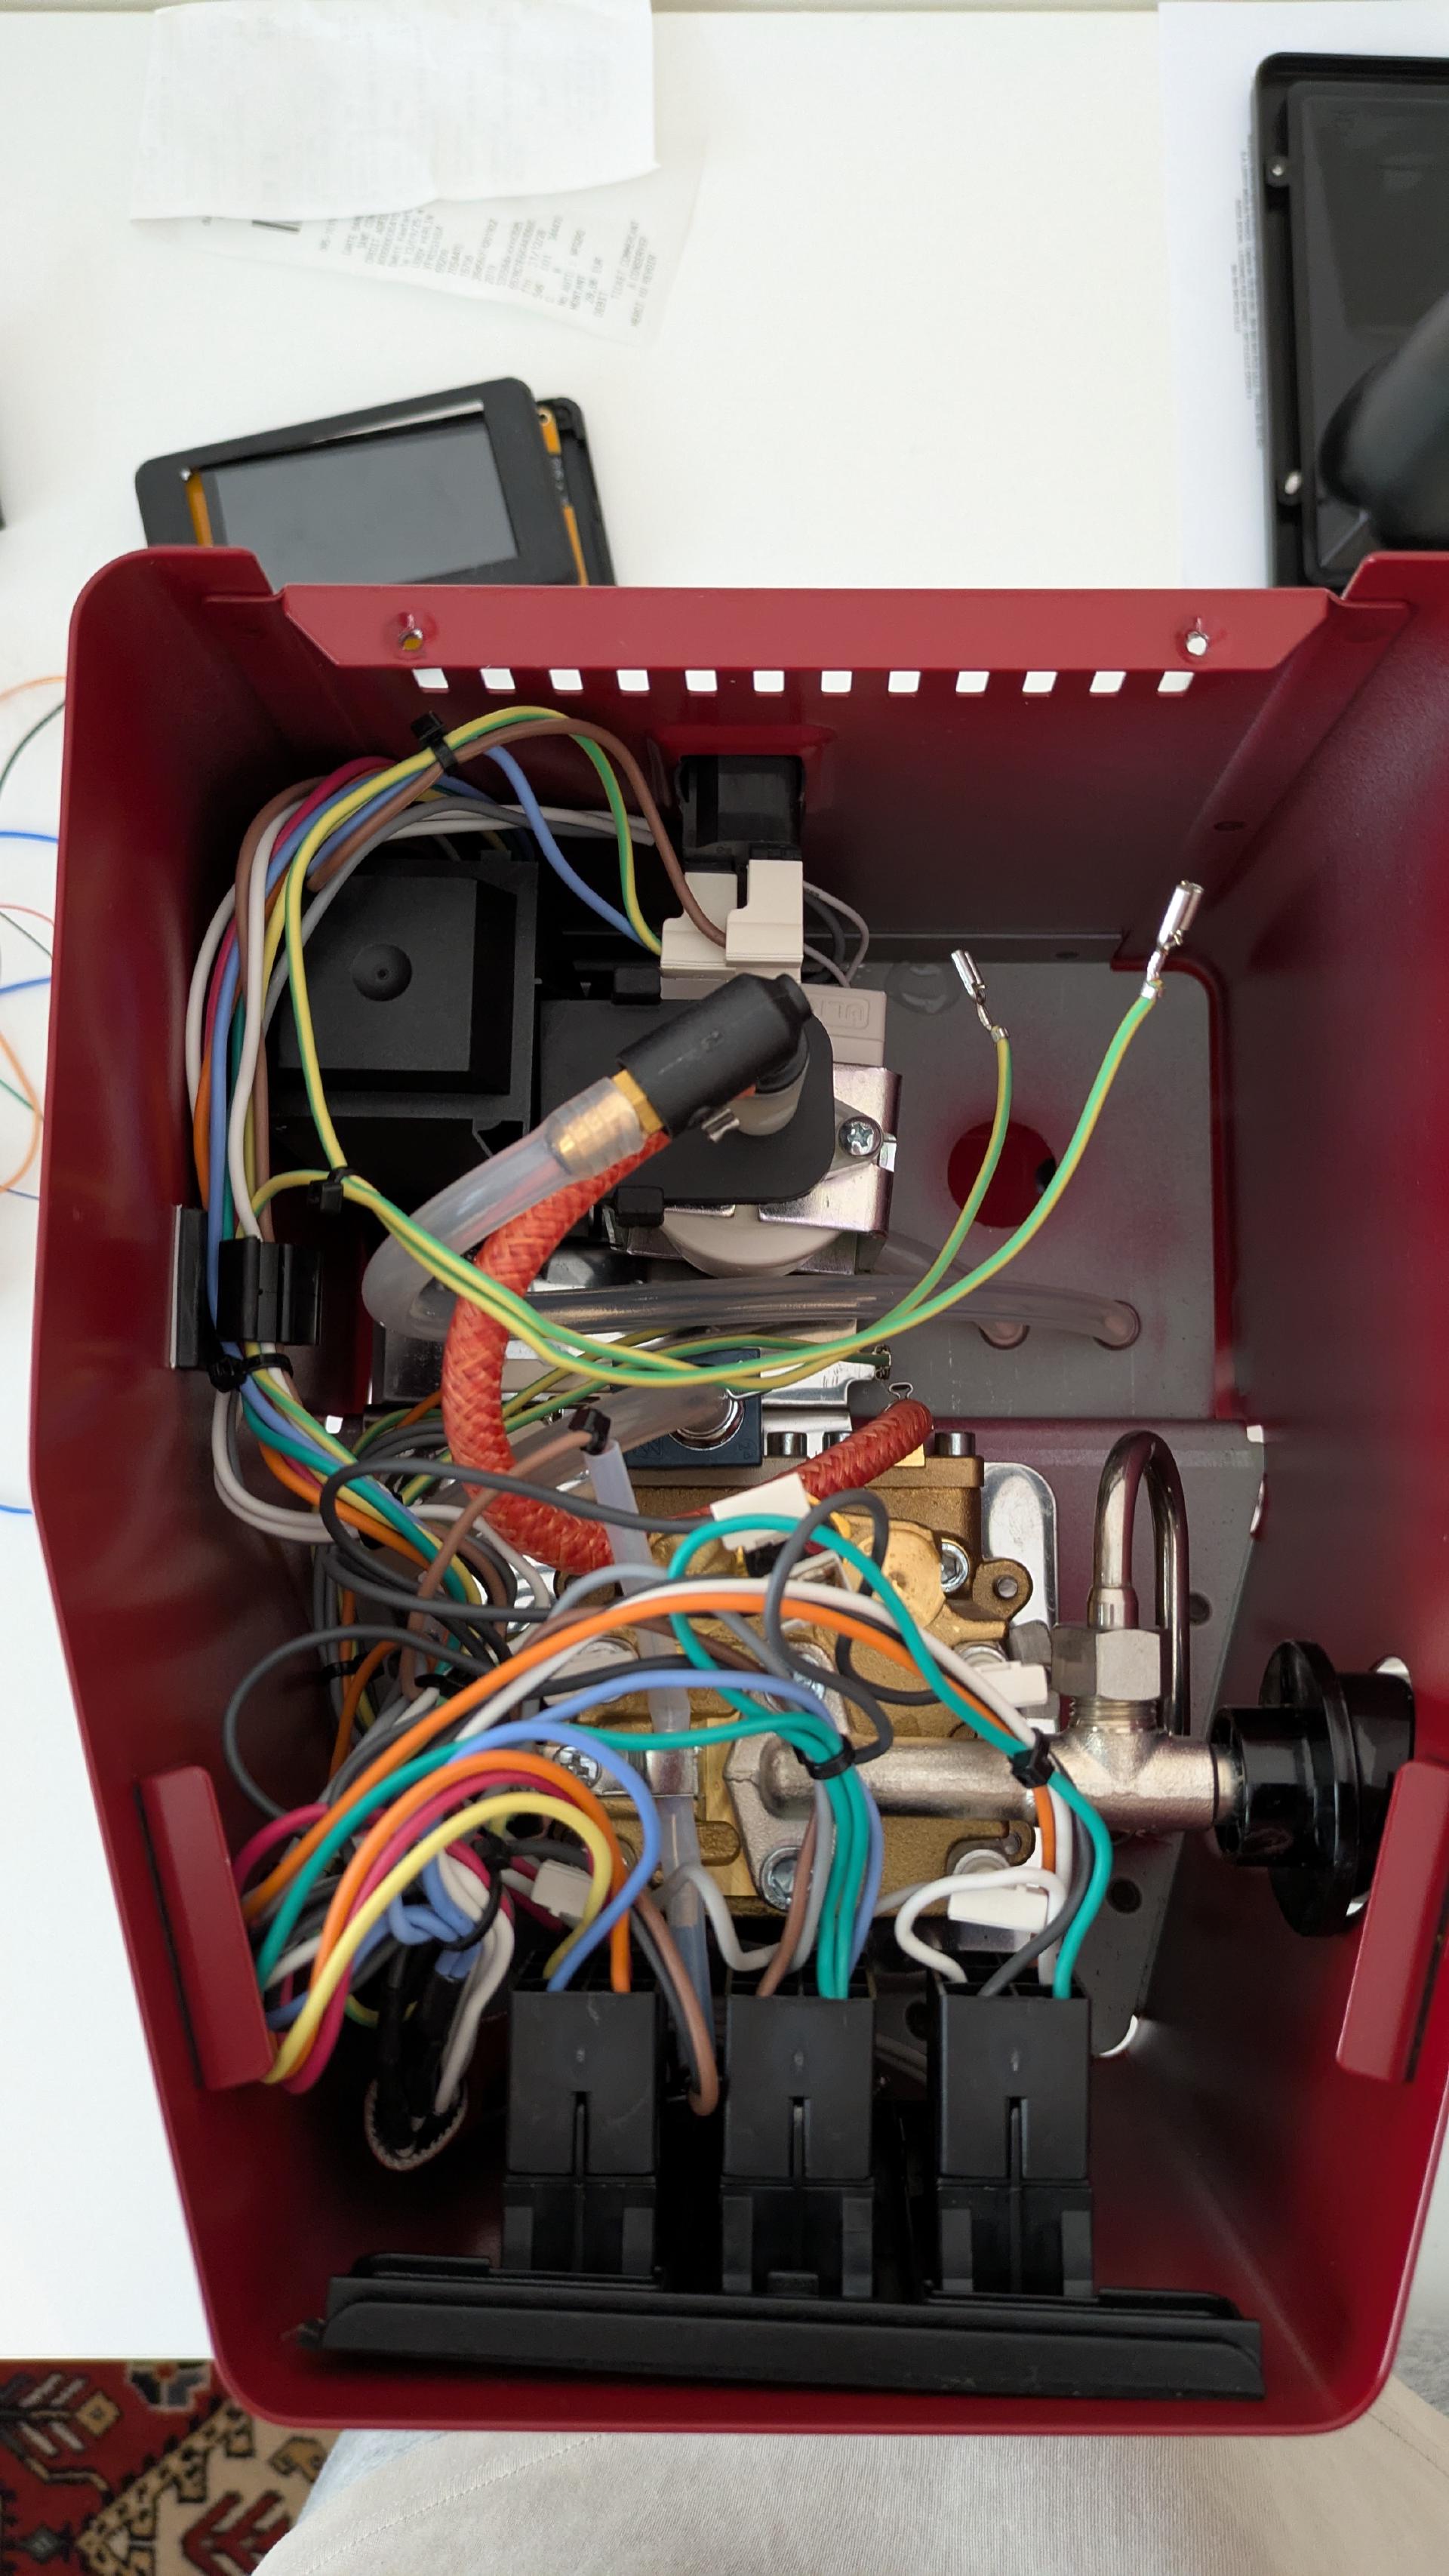
Internals before
Pressure sensor
The mod relies on a pressure sensor to function properly. It needs to know how much resistance the coffee puck being brewed gives. It does so by reading the pressure of the water between the pump and the boiler. To install the sensor you need to cut the tube connecting the two and insert a T-fitting so that you can install the sensor. It’s scary to cut the tube of a new machine. There’s certainly no going back anymore.
Wiring
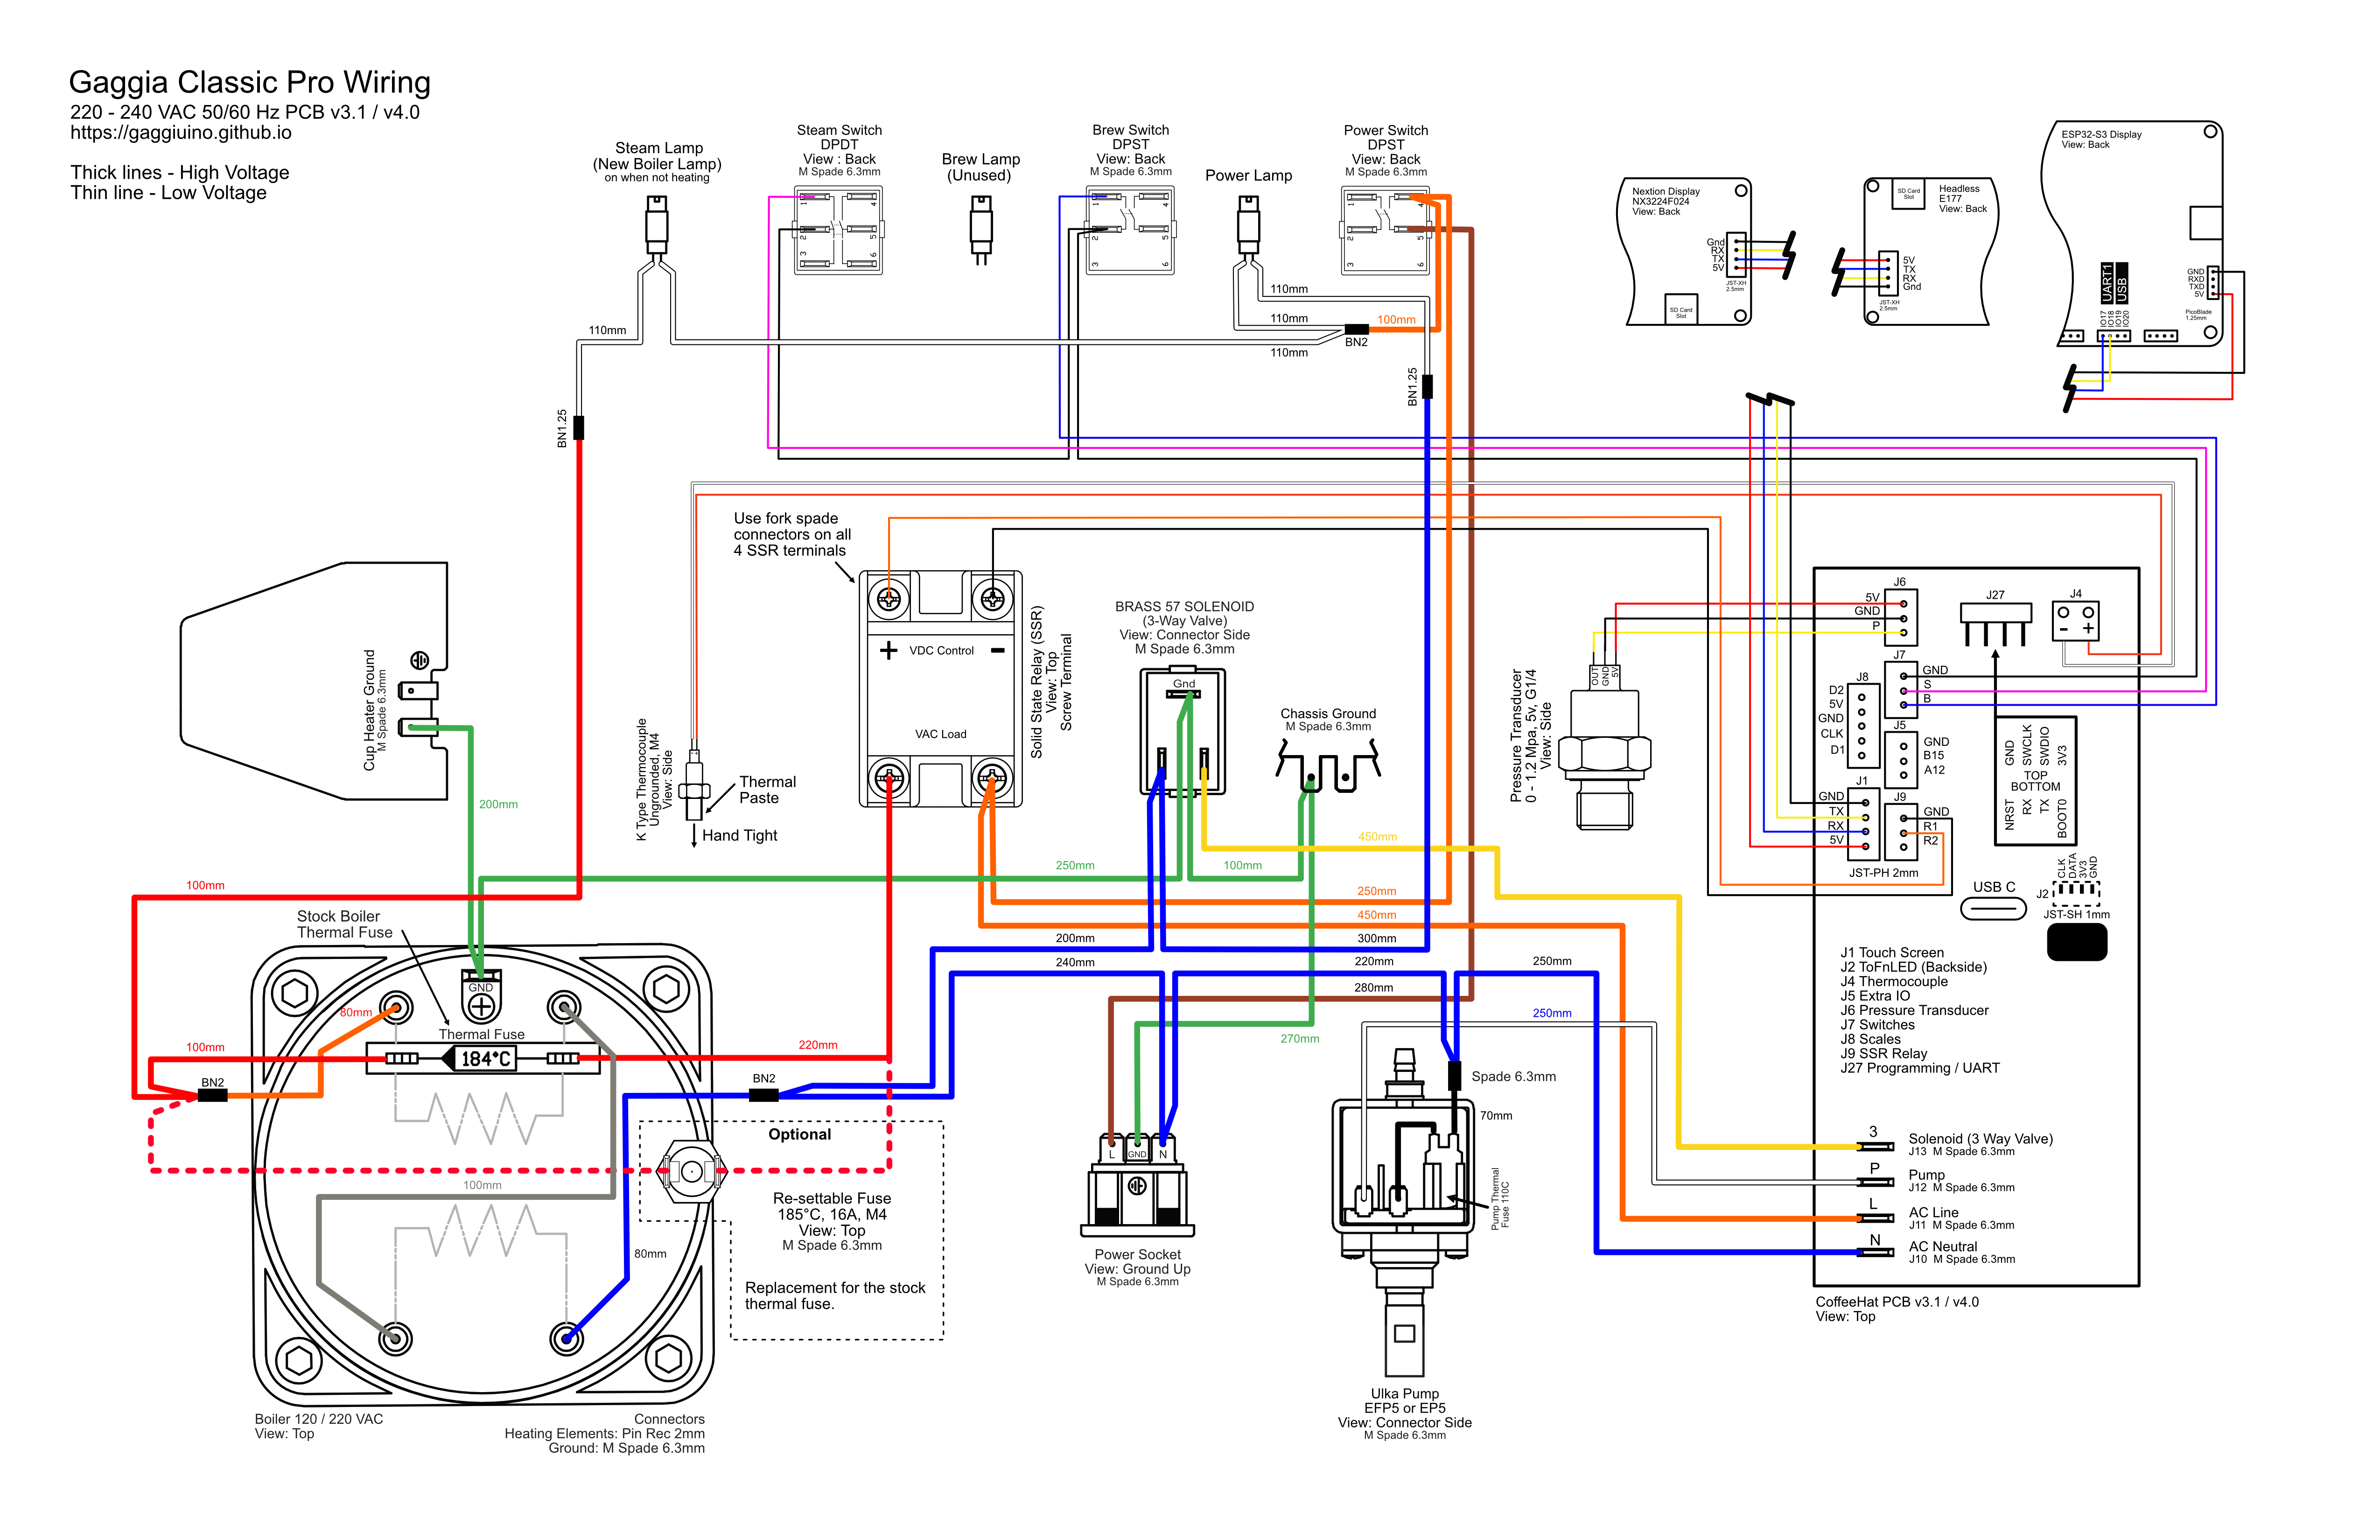
Wiring schematics
I’m not an expert in electronics, but this is the wiring diagram I need to implement. I work methodically. Grounding first (green), then the “neutral” line (blue) and then the rest. I attach connectors as I add them to not confuse them. Finally my machine looks like this.
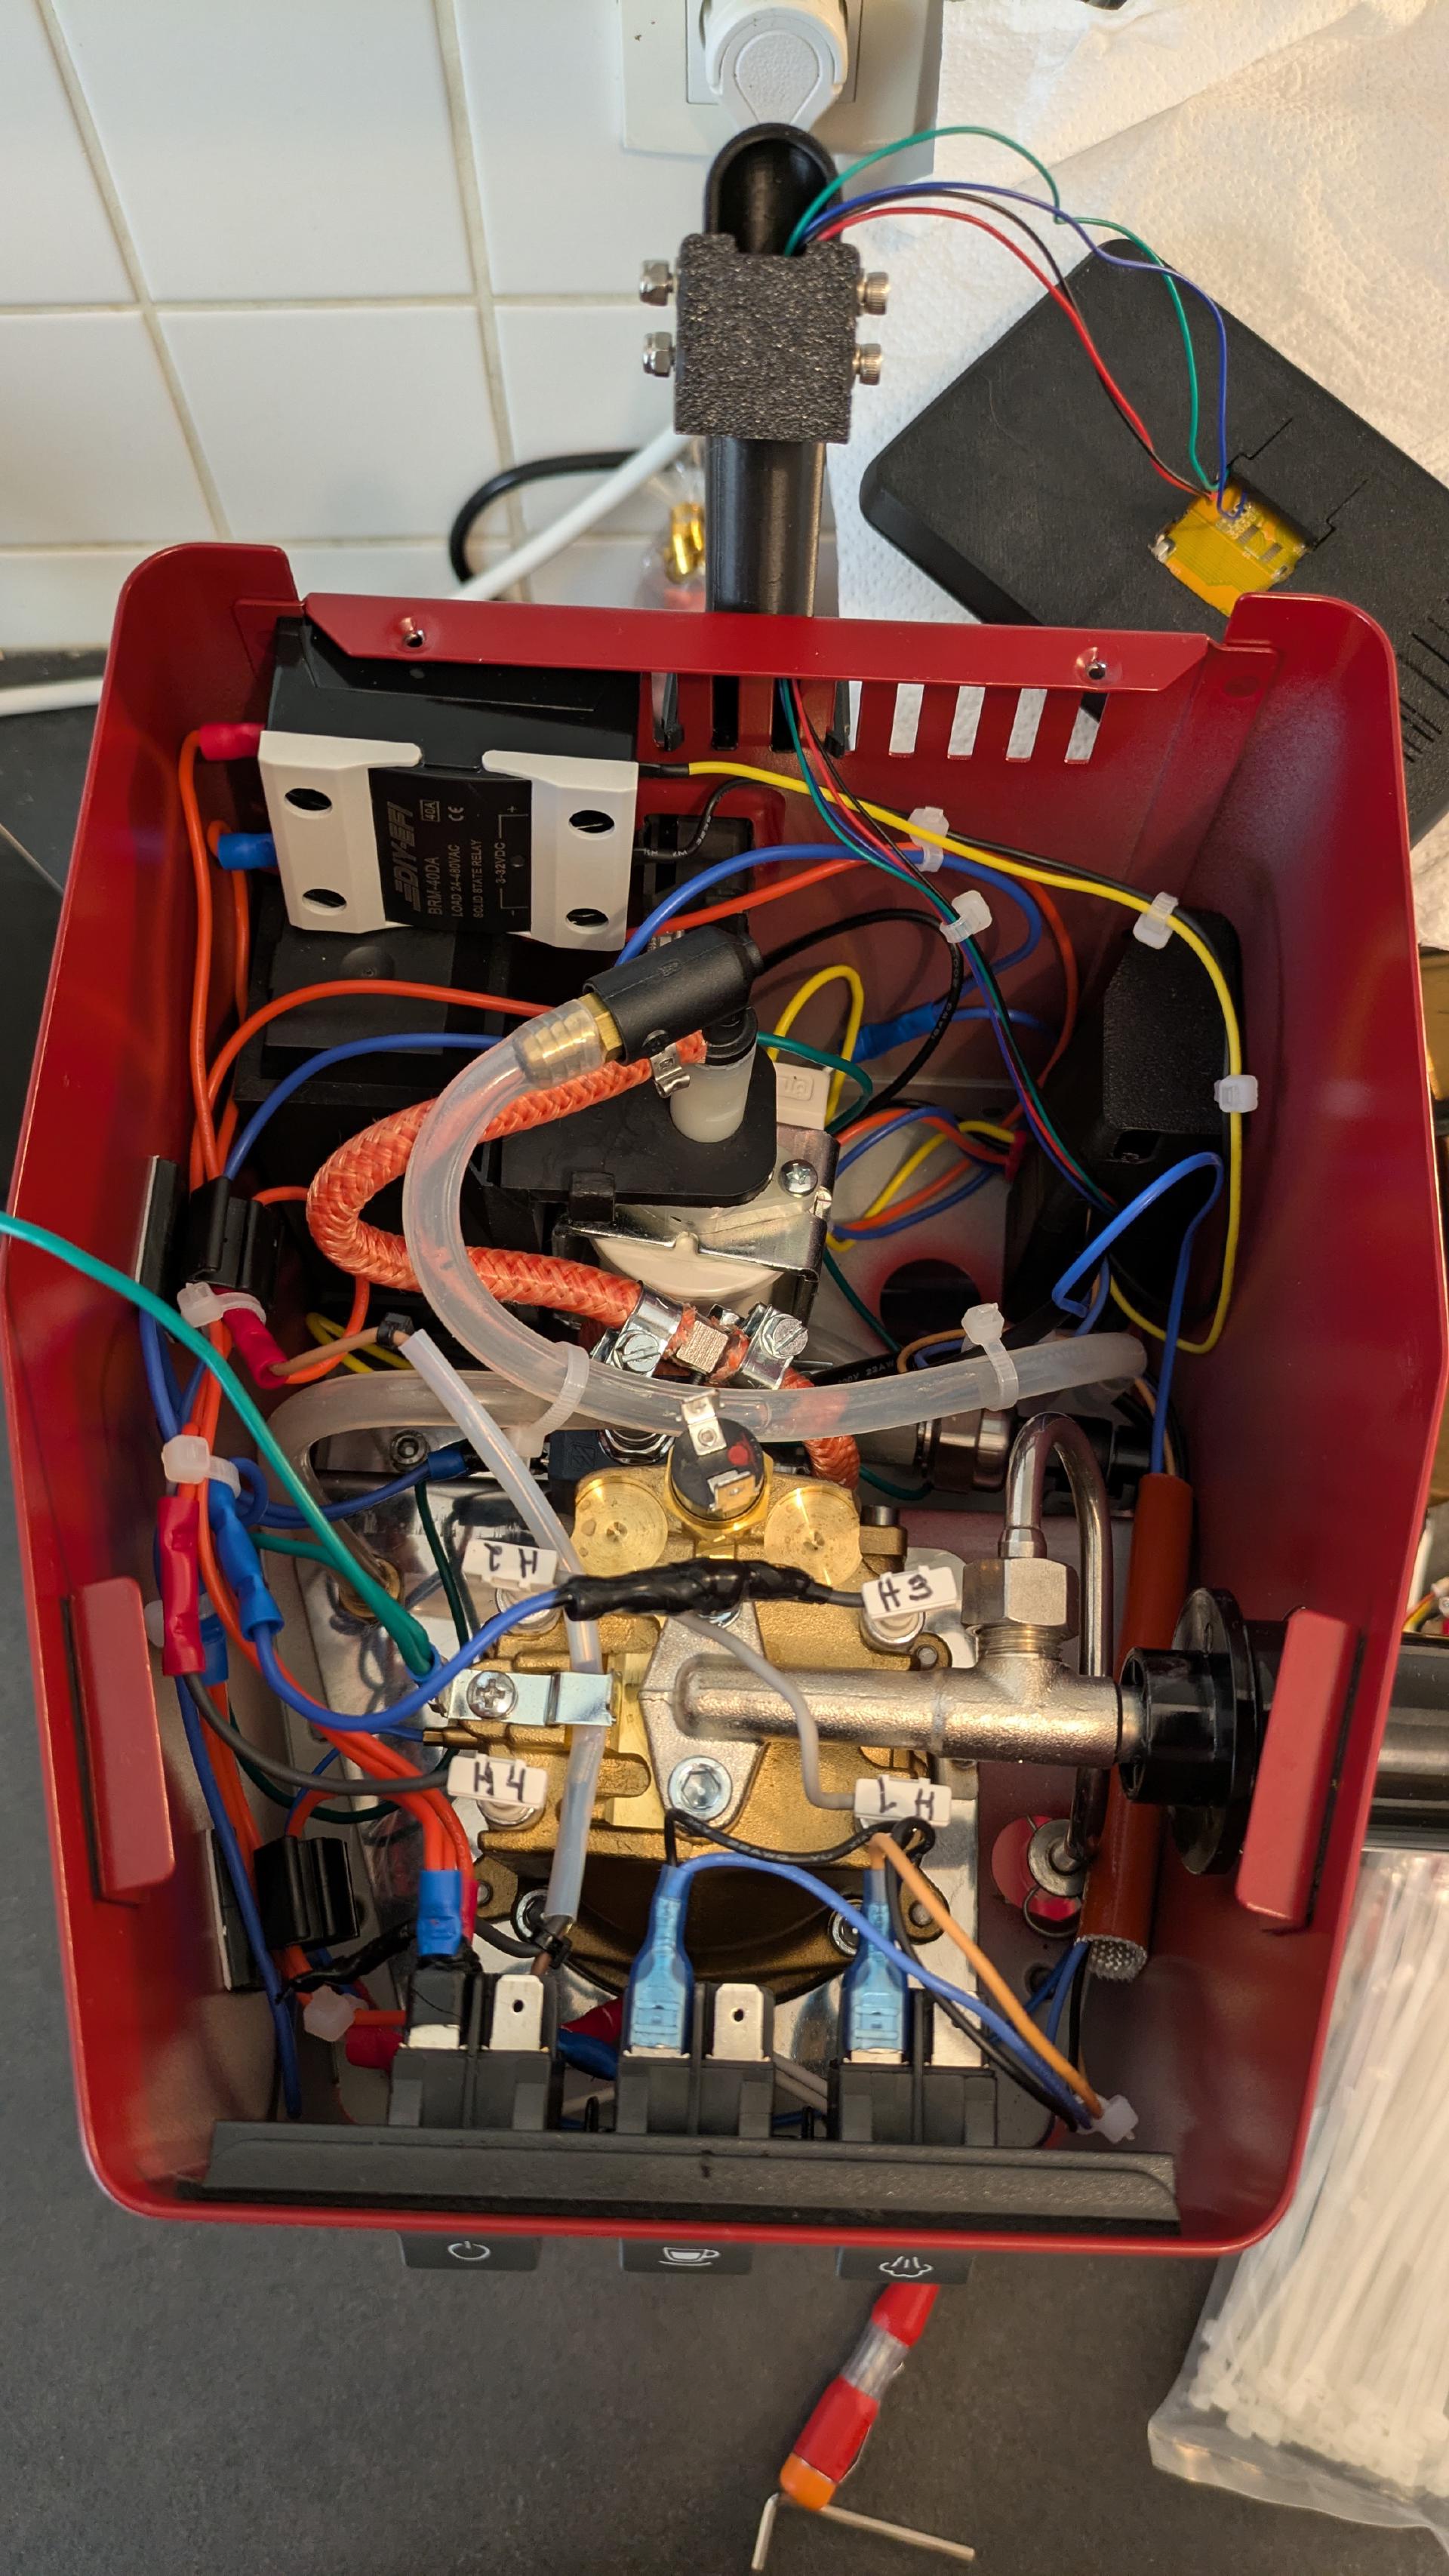
Internals after
First run
We’re working with high voltage here. If you make a mistake you get a little firework, but lose your machine. You can also hurt yourself quite badly. I instruct my girlfriend how to act in case of emergency. I even hand her a filled watering can in case there’s fire. We’re both nervous. I plug it in. No fire yet, good sign. I switch it on. The little display comes to live, the pump rattles. It WORKS. Insane.
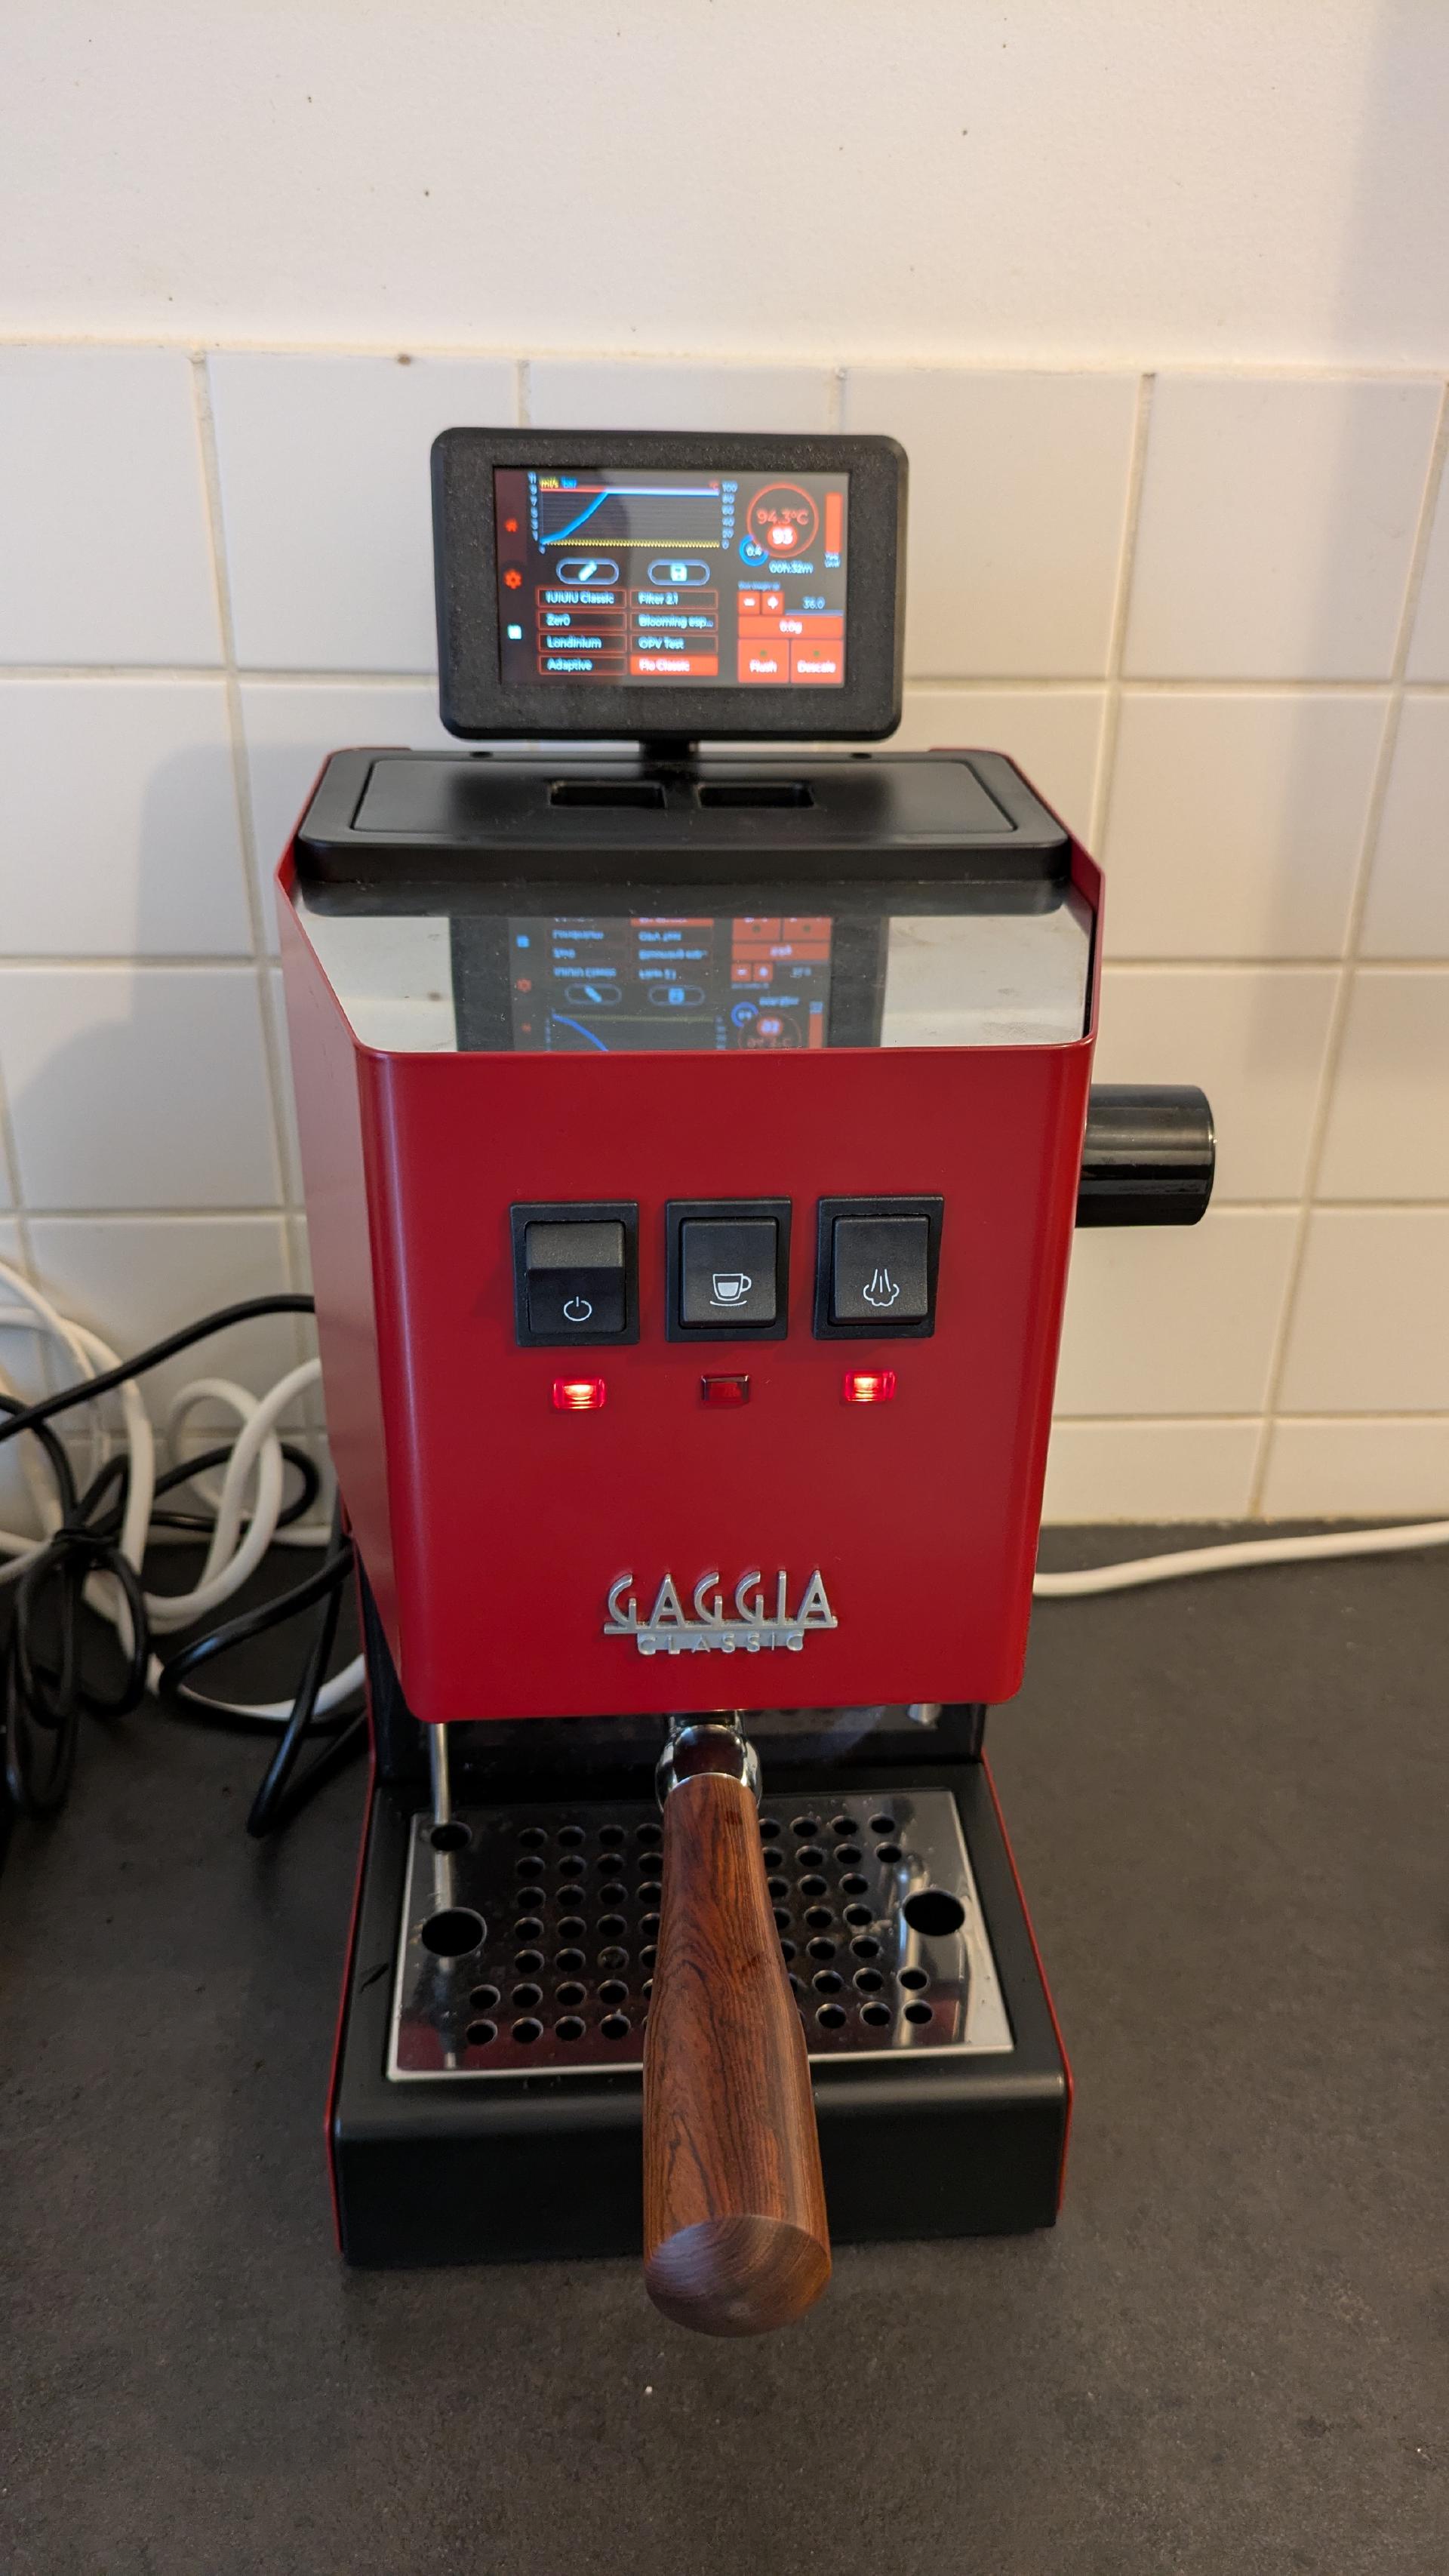
The finished build
First shot
I need to choose a pressure profile for my first shot. The standard one looks too complicated, so I make one myself. It’s just 9 bar until I switch it off. Like my old machine, but with 3 bar less. Let’s start simple, shouldn’t we?
The result is certainly a bit better than before. But it’s still not where I want it to be. It has this noisy taste that’s both bitter and sour. Arguably a bit less than before but it’s still there. I didn’t take a picture of my first shot, but I have one of my first latte art for you. Stay humble friends.
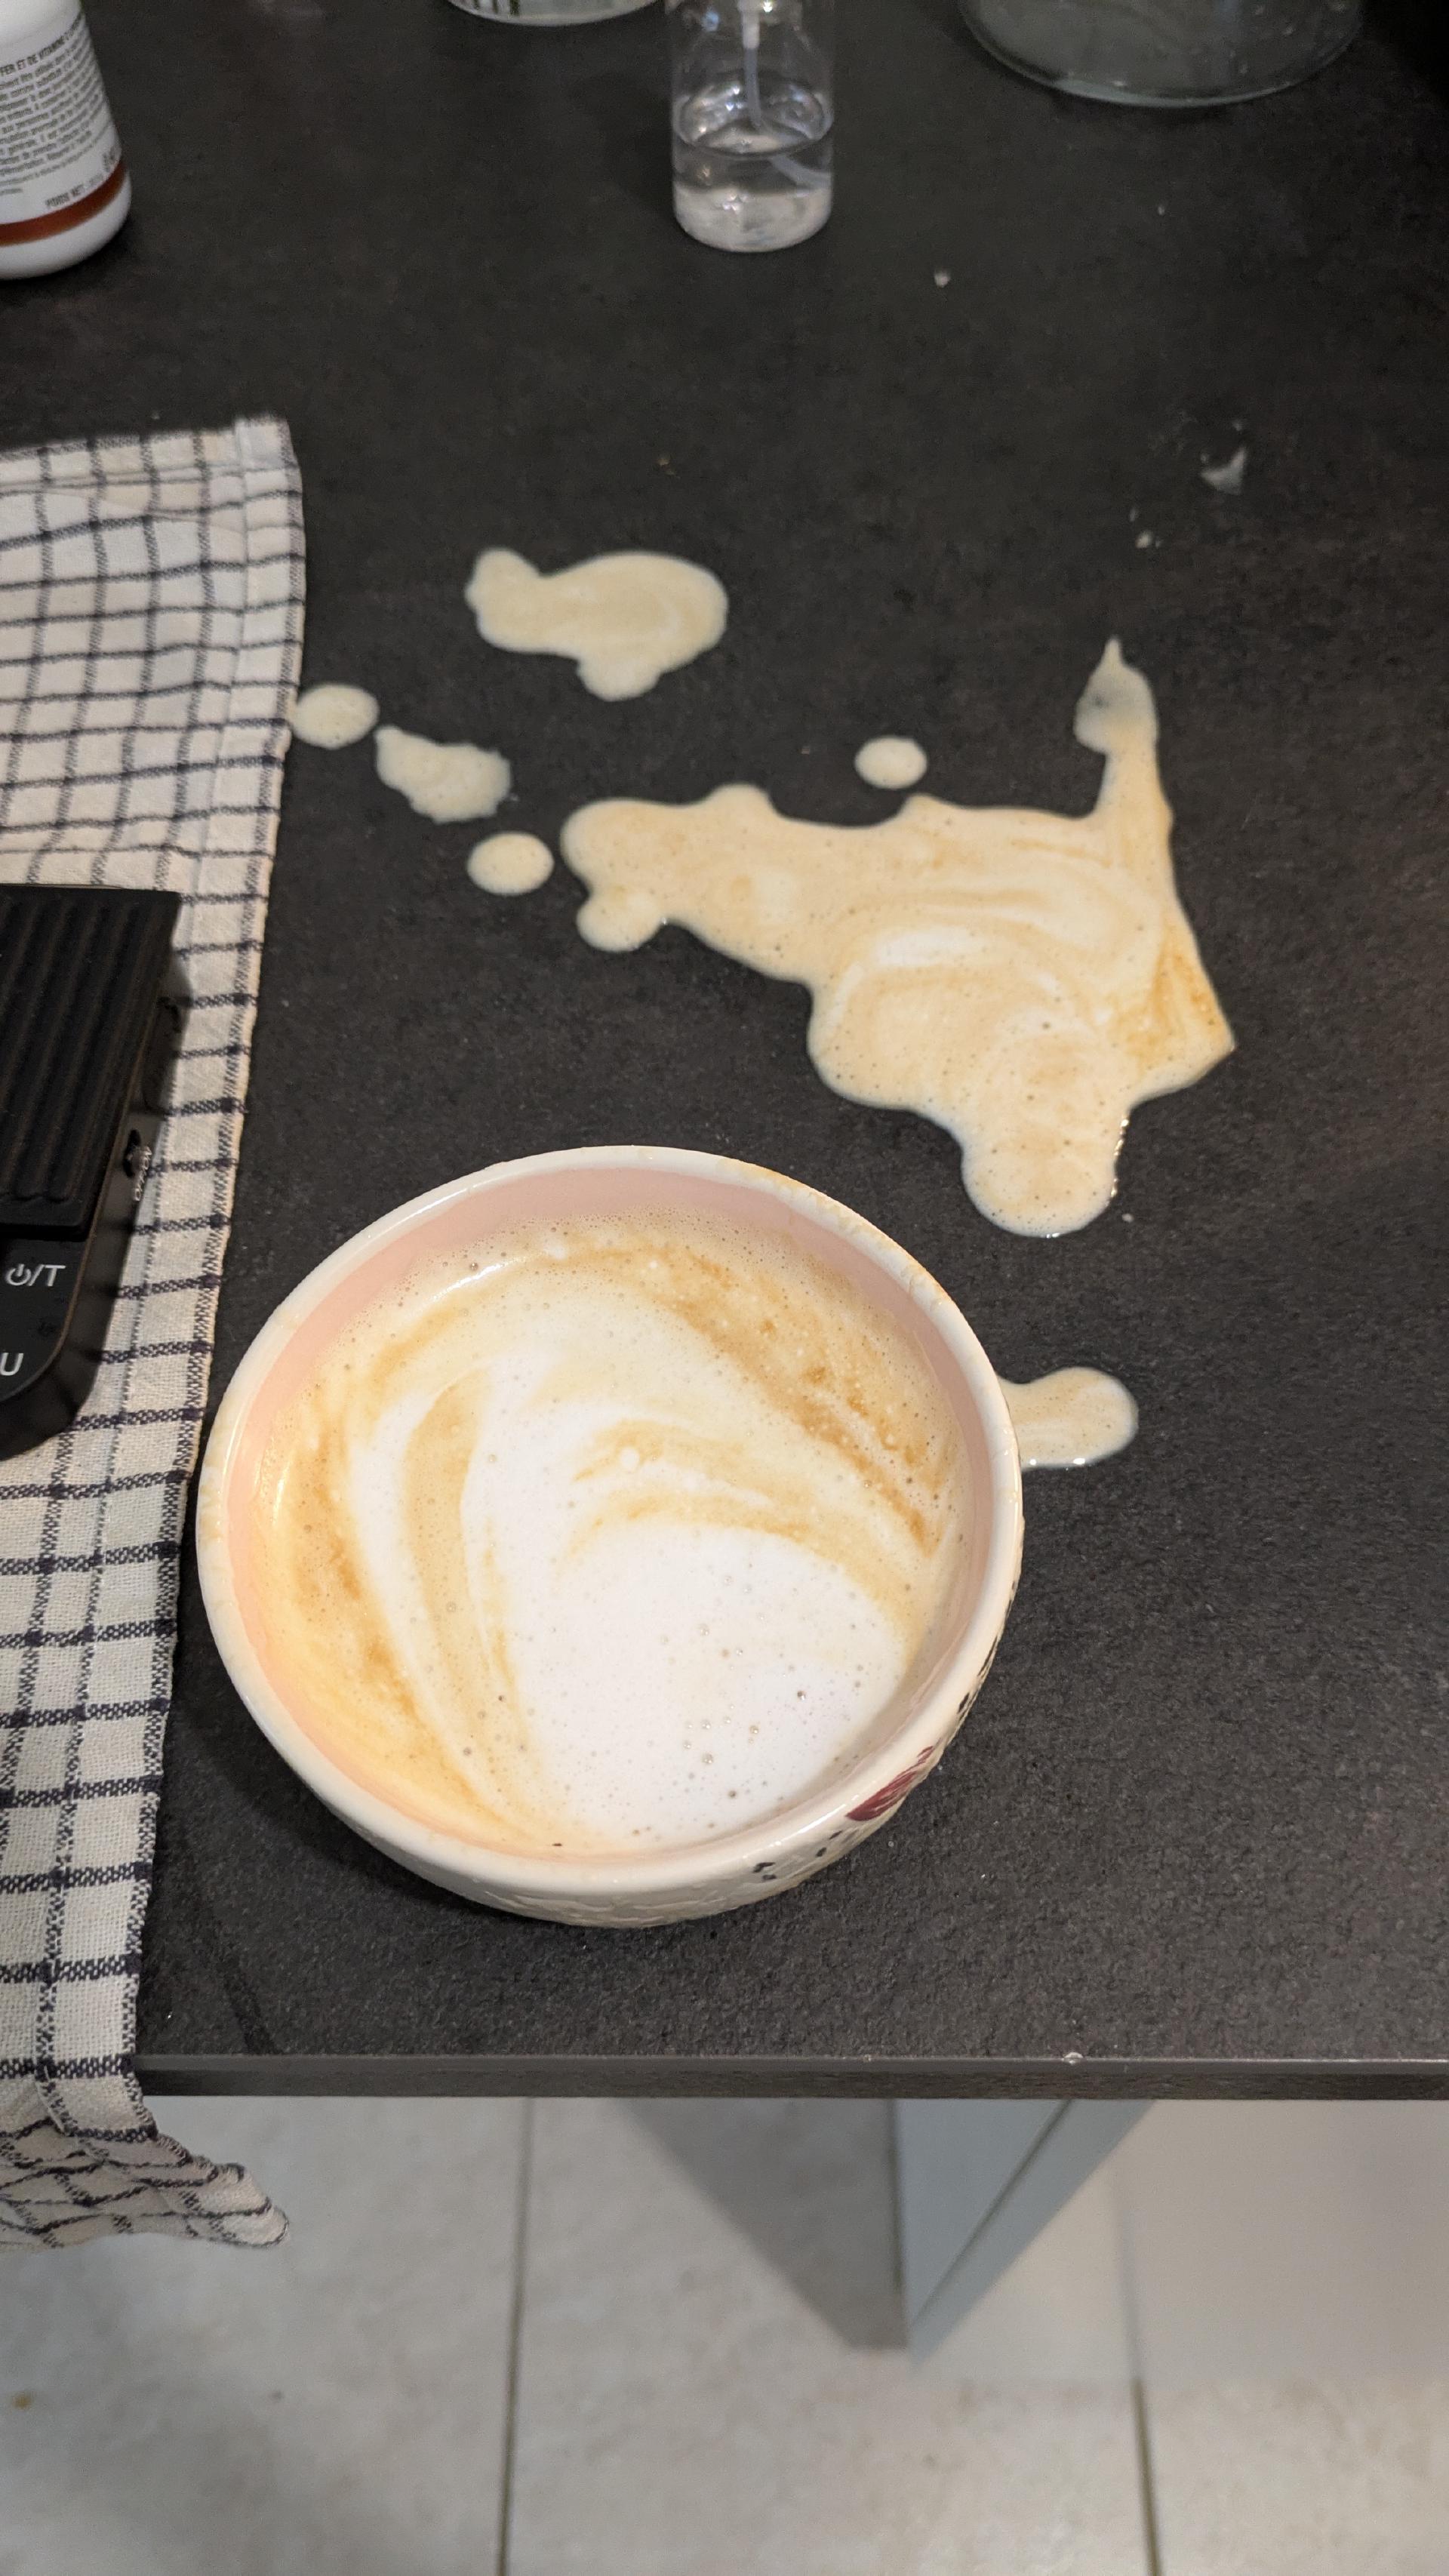
Latte Art